
Roof Solar Mounting Systems
Start with the roof covering and structural interface, then choose the appropriate PV attachment and racking path. Flat, metal, tile and shingle roofs require different load-transfer, fastening and roof-interface details.
- Flat Roof
- Metal Roof
- Tile Roof
- Shingle Roof
- Project-Specific Attachment
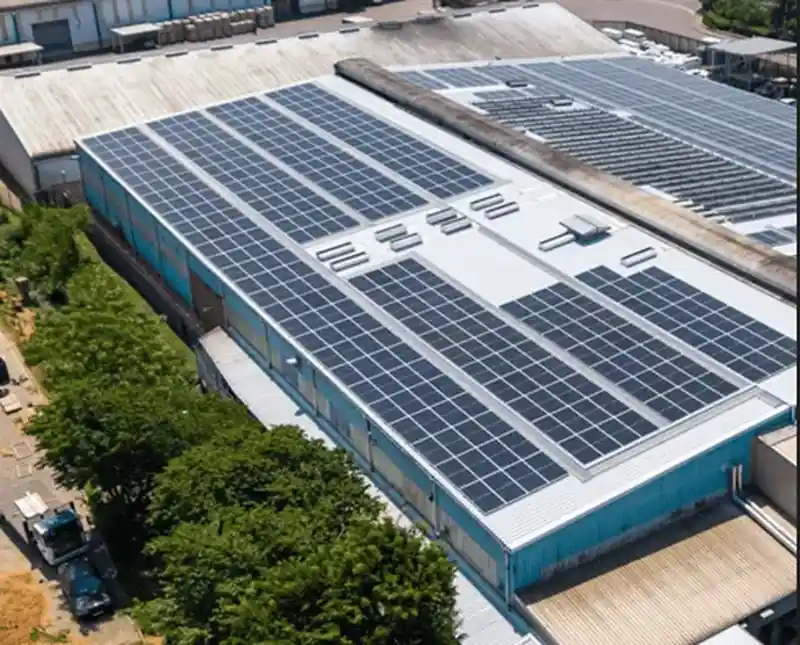
Choose the Mounting System by Roof Construction
These four entry points keep parent and child-page intent separated while still giving access to the more specific roof systems.
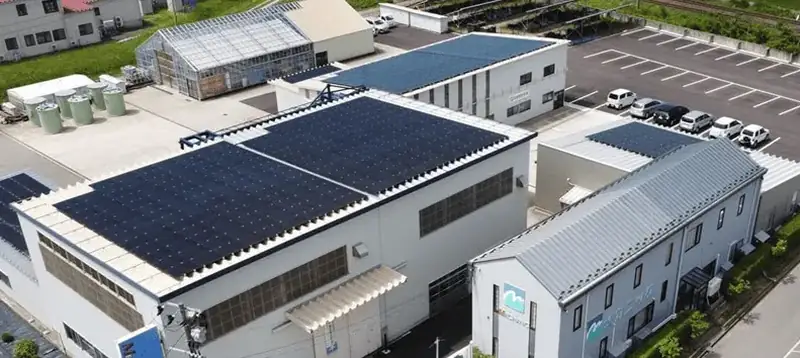
Flat Roof Solar Mounting
Select the system from roof membrane or surface, allowable point loads, ballast capacity, attachment restrictions, array orientation and structural design. Ballasted and mechanically attached approaches are different design paths.
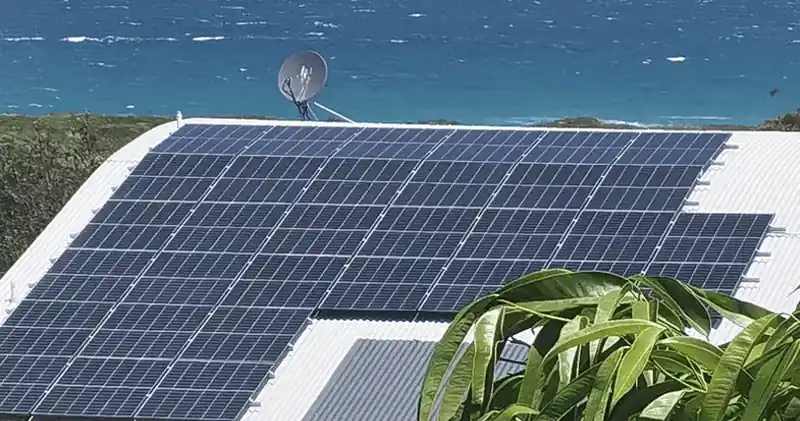
Metal Roof Solar Mounting
Identify standing seam, trapezoidal, corrugated or another exposed-fastened profile before choosing seam clamps, short rails, brackets, hanger bolts or structural-fastener systems.
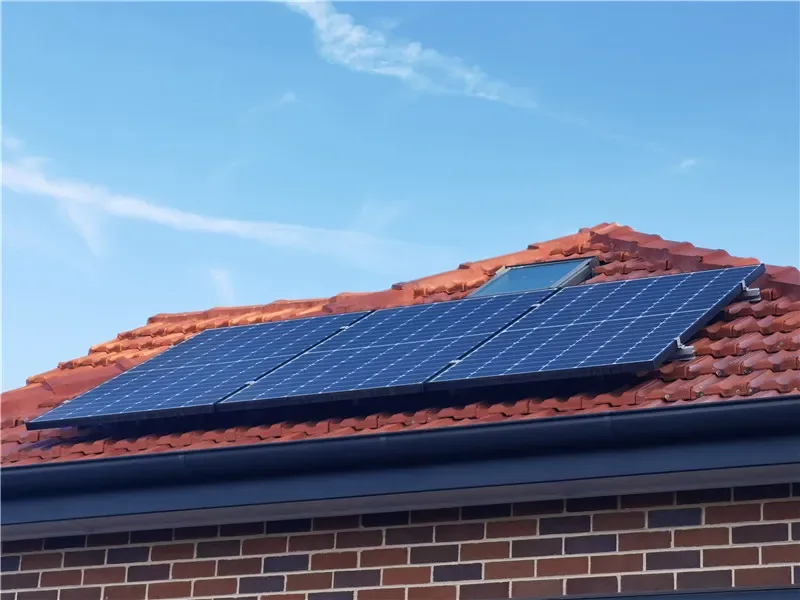
Tile Roof Solar Mounting
Match roof hooks, replacement-tile or flashing details to the tile profile, roof build-up, load-bearing support and rail system. Tile clearance and structural fastening must be reviewed together.
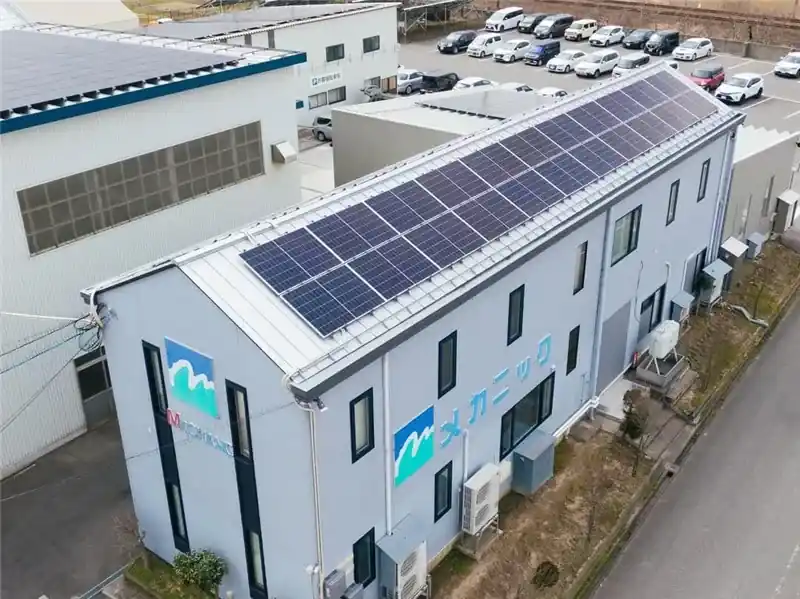
Shingle & Other Pitched Roofs
For composition shingle and other sloped roof coverings, use a roof-specific attachment and flashing or sealing detail tied to the underlying structure. Use the pitched-roof overview when the covering has not yet been classified.
Four Checks Before Choosing a Rooftop Racking Path
A roof category is only the starting point. The final attachment and component spacing depend on the actual building and array.
Roof Covering & Profile
Identify membrane, concrete, tile, shingle, standing seam, trapezoidal, corrugated or another roof construction.
Structural Interface
Confirm the load-bearing deck, rafter, purlin, seam, sheet or approved attachment point used by the selected system.
Roof-Interface Requirements
Check permitted penetrations, membrane protection, flashing/sealing details, roof condition and manufacturer restrictions.
Module & Project Loads
Use module dimensions/layout together with applicable wind, snow and structural criteria to determine spacing and BOM.
Water Management Depends on the Roof and Attachment
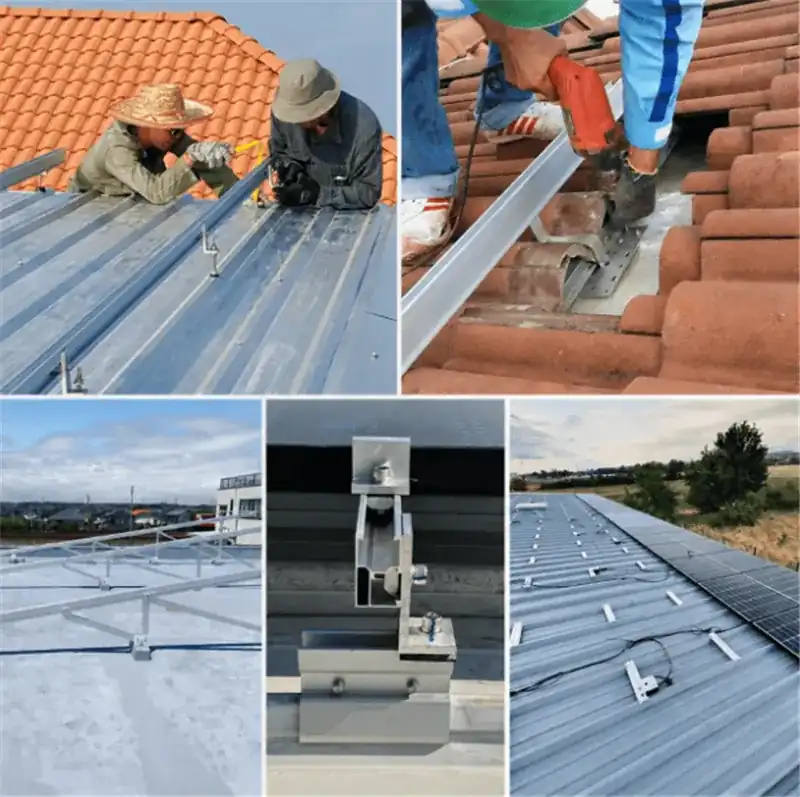
There is no single “waterproof” accessory that applies to every rooftop system. The roof-interface detail changes with the covering and attachment method.
- Flat roofs: protect the membrane or surface and verify ballast, anchors, separation layers and drainage requirements.
- Standing seam: use a profile-matched clamp and preserve the intended roof-panel movement.
- Exposed-fastened metal: follow the selected screw/bracket sealing detail and roof-manufacturer requirements.
- Tile roofs: use the approved hook, replacement-tile or flashing detail without unintended tile loading.
- Shingle roofs: use the attachment and flashing method specified for the roof build-up and structural support.
Use Components That Belong to the Selected Racking System
The accessories catalogue carries the detailed component information; this parent page only shows the main interfaces.
Roof Attachment
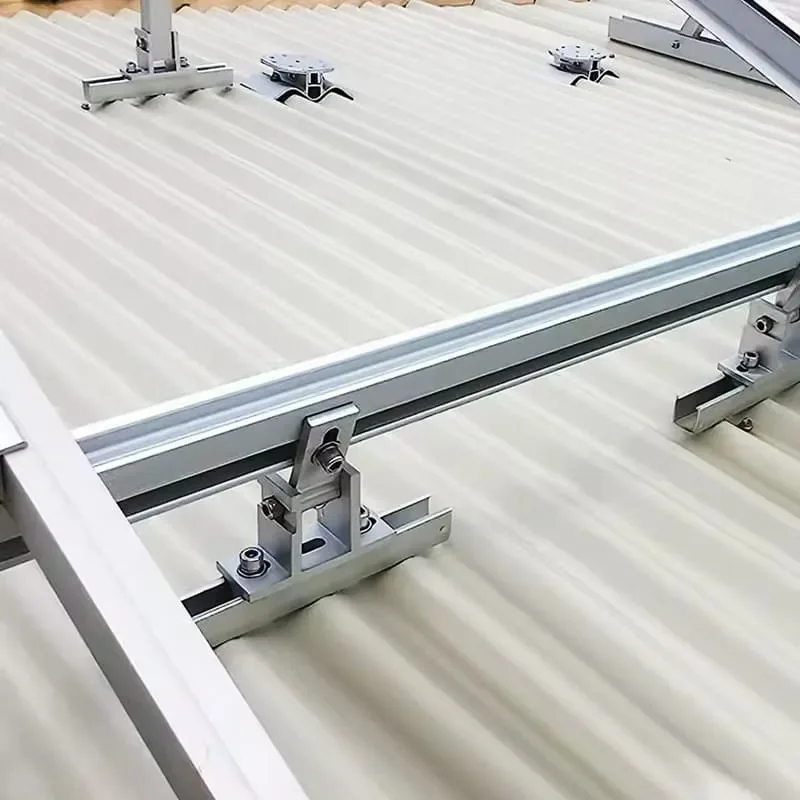
Hook, seam clamp, bracket, short rail, hanger bolt, anchor or another approved roof-specific attachment.
Rails / Support Profiles
Rail-based or rail-less architecture selected according to the roof system and module layout.
Module Interface
Mid/end clamps or direct-attach module hardware matched to frame dimensions and approved clamp zones.
Fastening & Bonding
System-specific fasteners, connectors and electrical bonding/grounding components.
Information Needed for a Roof-System Review
Send enough information to identify the roof, structural load path and module arrangement. The specific mounting family and component BOM can then be reviewed without guessing from a roof photo alone.
- Roof covering/profile, slope and clear site photos
- Roof build-up and load-bearing structure where relevant
- PV module datasheet, dimensions, orientation and preliminary layout
- Project location and applicable structural design criteria
- Any roof-manufacturer restrictions, attachment preferences or available drawings
Send the Roof and Module Details for the Next Step
Start with the roof covering, structural information and module layout. Easy Solar can then review the appropriate roof-mounting path and required component scope.
- Roof type / profile and photos
- Roof structure or substrate information
- PV module datasheet and layout
- Project location / design criteria
- Preferred attachment or penetration constraints
Roof Mounting Selection Questions
These questions clarify the category choices instead of repeating each child system page.
Should I choose by roof pitch or roof covering?
Use both, but identify the roof covering/profile first. Tile, shingle, standing seam, trapezoidal sheet and flat-roof membranes use different attachment families even when two roofs have a similar slope.
Is every flat-roof system non-penetrating?
No. Ballasted systems can avoid roof penetrations in suitable applications, while other flat-roof designs may use anchors or mechanically attached supports. The final approach depends on the roof and structural design.
Do all metal roofs use L feet or hanger bolts?
No. Standing-seam roofs often use profile-matched seam clamps, while trapezoidal and corrugated roofs can use several thin-sheet, bracket or structural-fastener paths depending on the roof profile and supporting structure.
What information is needed before the mounting system can be selected?
Provide roof/profile information, structural or substrate details where relevant, module data and layout, project location/design criteria, plus available drawings or site photos.